
Subtotal $0.00





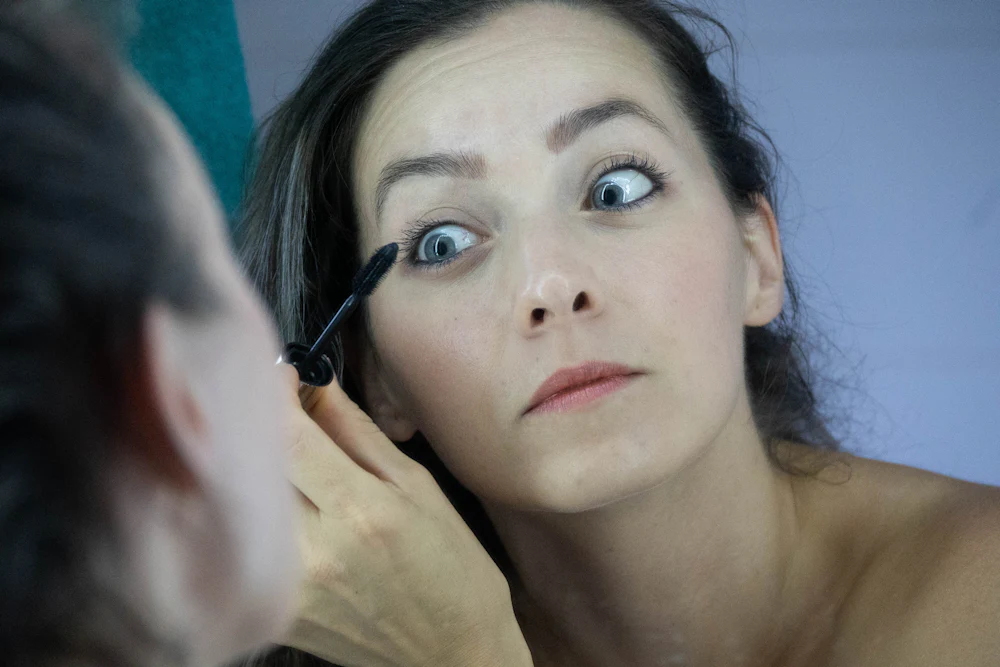
You spend twenty minutes getting your makeup just right, and by lunchtime your foundation has slid off your nose, your concealer has creased, and your lipstick has vanished. If you have ever searched for how to make your makeup last all day, you are far from alone. The good news is that long-lasting makeup is less about buying more products and more about doing the right steps in the right order.
This guide walks through every stage, from skin prep to touch-ups, and explains why makeup breaks down in the first place. It also covers what works for oily, dry, and combination skin, how to deal with heat, wind, and Boise’s dry air, and the little mistakes that quietly shorten your wear time. If you would rather have a professional handle it, our everyday makeup service is designed for exactly that, and our guide to building a skincare routine covers the skin prep that makes everything else work.
Why Does Makeup Fade, Slide, and Crease?
Before fixing the problem, it helps to know what causes it. Most makeup failures come down to a handful of causes:
- Oil production. Skin makes oil throughout the day, especially around the nose, forehead, and chin. That oil mixes with foundation and lifts it off the skin.
- Dryness and dehydration. Skin that is dry or dehydrated drinks up moisture from foundation, which leaves patches, flakes, and a cakey look.
- Skin movement. Areas that crease when you smile, squint, or talk, such as under the eyes and around the mouth, push product into lines.
- Heat and sweat. Warm weather makes skin sweat and oil production increase, and both break down makeup.
- Touching your face. Hands, phones, scarves, and sunglasses all rub off makeup, and the oils on your fingertips add to the problem.
- Incompatible products. A silicone-based primer under a water-based foundation, or the reverse, can leave makeup pilling or sliding.
- Too much product. Thick layers do not last longer. They crack, crease, and slide sooner than thin, well-set layers.
Once you know which of these affects you, you can build a routine that targets it, rather than guessing.
Step 1: Start With Properly Prepped Skin
Makeup lasts as long as the surface under it allows. A clean, hydrated base is the most important step, and it is the one most people skip.
Cleanse gently
Wash your face with a cleanser that suits your skin type, and avoid harsh formulas that leave skin tight. Stripped skin often overproduces oil later in the day, which is the opposite of what you want.
Exfoliate, but not right before
Dead skin cells create dry patches that grab foundation. Exfoliating once or twice a week keeps the surface smooth, but do it the night before a big event rather than the morning of, since freshly exfoliated skin can be sensitive. A regular professional facial also helps, and many clients book a classic facial a week or two before an event so their skin looks its best.
Moisturize, even if you have oily skin
Hydrated skin holds makeup better. Oily skin still needs moisture, so choose a light gel or lotion. Dry skin needs a richer cream. Give your moisturizer a few minutes to sink in before the next step, since makeup applied over wet product tends to slip.
Do not forget sunscreen
Sunscreen protects your skin, and it also forms part of your base. Apply it after moisturizer and let it set before makeup. If it feels heavy, look for a lightweight, makeup-friendly formula.
Wait before you start
Give skincare five minutes to settle. This small pause prevents pilling and keeps layers from sliding around each other.
Step 2: Use a Primer That Matches Your Skin
Primer creates a smooth, grippy layer between skin and foundation. It does not suit every routine, but it can make a big difference, especially if you have texture, large-looking pores, or oily skin.
- Oily skin: look for a mattifying or pore-smoothing primer, and use it mostly on the T-zone.
- Dry skin: choose a hydrating or illuminating primer that adds moisture and prevents foundation from clinging to dry patches.
- Combination skin: use two primers, with a mattifying one on oily areas and a hydrating one on dry areas.
- Mature skin: a smoothing primer can help fill in fine lines so foundation does not settle into them.
Use a thin layer and press it into the skin. Too much primer can make foundation slide, so less is usually better.
Step 3: Choose the Right Foundation and Apply It Thinly
Match the formula to your skin
Matte or long-wear foundations work well for oily skin, while satin or dewy formulas are kinder to dry skin. Heavy, full-coverage foundations can look cakey and wear faster, so many people do better with a medium-coverage formula built up where needed.
Mind your product families
Water-based foundations work best over water-based primers, and silicone-based foundations work best over silicone-based primers. A quick test is to dab a small amount of both on your hand and see if they blend smoothly or ball up.
Apply in thin layers
Start in the center of your face and blend outward. Use a damp sponge or a dense brush, and press the product into the skin rather than dragging it across. Pressing locks the foundation in place and gives a more skin-like finish. If you need more coverage, add a second thin layer just where you need it.
Do not forget your neck and jawline
Blending down the jawline prevents a visible edge. It also keeps your face and neck matching through the day.
Step 4: Concealer That Does Not Crease
Concealer is where creasing usually shows up first, especially under the eyes. A few habits help:
- Hydrate the under-eye area with a light eye cream first, and give it time to absorb.
- Use a concealer made for the under-eye area, which is often creamier and more flexible than one made for blemishes.
- Apply a thin layer, tap it in with your ring finger or a small sponge, and then stop. Piling more on tends to crease.
- Use a firmer, more matte concealer on blemishes, and press it on gently without rubbing.
- Set it lightly with a fine, sheer powder, using only a small amount.
Step 5: Set Your Makeup Properly
Setting is the step that keeps liquid and cream products from moving. Many people either skip it or overdo it, and both mistakes shorten wear time.
Powder, but only where you need it
Use a light dusting of translucent powder on the oily parts of your face, typically the forehead, nose, and chin. Skip heavy powdering on dry areas, since too much will emphasize texture and flaking. A fluffy brush gives a lighter application, while a damp sponge presses powder in for more hold under the eyes.
The baking technique
Baking means leaving a thicker layer of powder on the skin for a few minutes before brushing it away. It can help very oily skin or heavy under-eye concealer, but it can also look dry and heavy on others. Use it only where needed, and brush away the excess thoroughly.
Use a setting spray
A setting spray locks everything in and helps different layers look like one finish. Hold the bottle at arm’s length and mist in an X and T pattern, then let it dry without touching. Choose a matte setting spray for oily skin and a hydrating one for dry skin.
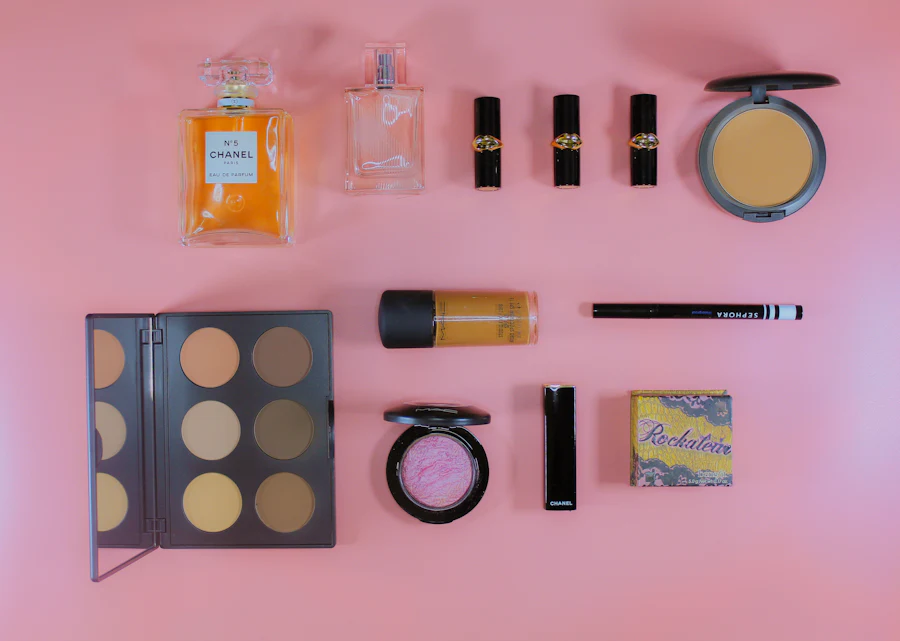
Step 6: Eyes, Brows, Cheeks, and Lips That Stay Put
Eyeshadow
Apply an eyeshadow primer or a thin layer of concealer on the lid, then set it with a neutral powder. Use cream shadows as a base for powder shadows to add depth and hold. Make sure the lid is dry and oil-free before you start.
Eyeliner and mascara
Waterproof formulas stand up better to sweat, tears, and humidity. Tightlining the upper lash line with a waterproof pencil, and wearing a waterproof mascara, cuts down on smudging. If you wear lash extensions, check which mascara and remover are safe for them, and see our guide to lash lift vs. lash extensions if you are deciding between low-maintenance options.
Brows
Brows frame the face, and they smudge or fade easily. Brow gel or wax holds hair in place, and a light dusting of powder over a pencil helps it last. If you want a longer-lasting shape with less daily work, our brow shaping and tint service gives you a defined base that needs very little makeup on top.
Blush and bronzer
Cream blush and bronzer layered under powder versions give more staying power than powder alone. Apply the cream first, set it lightly, and then add powder on top for color that lasts.
Lips
Lipstick lasts longest with a simple process:
- Exfoliate gently and apply a light lip balm, then blot it off.
- Line and lightly fill your lips with a lip liner that matches your shade.
- Apply lipstick with a brush or directly from the bullet.
- Blot with a tissue, add a thin dusting of powder through the tissue, and apply another thin layer of lipstick.
Liquid lipsticks and long-wear formulas can last through meals, but they can be drying, so use a hydrating balm underneath and when you remove them.
Makeup That Lasts for Different Skin Types
Oily skin
Focus on oil control. Use a mattifying primer on the T-zone, a long-wear or matte foundation, a light powder, and a matte setting spray. Blotting papers help during the day without disturbing the makeup, since you press them on the skin and lift, instead of rubbing.
Dry skin
Focus on hydration. Use a hydrating primer, a satin or dewy foundation, cream blush, and very little powder. A hydrating mist in the middle of the day can refresh dry patches, and a facial mist applied lightly keeps skin supple.
Combination skin
Treat each zone separately. Mattifying products on the T-zone, hydrating products on the cheeks, and setting powder only where you shine.
Mature skin
Use lightweight, hydrating formulas, and avoid heavy powders that settle into lines. Cream products and thin layers look more natural and last better. Keeping skin well hydrated helps, and our HydraFacial is a popular option before an event for a smooth, hydrated base.
Sensitive skin
Choose fragrance-free products, patch test anything new, and avoid layering lots of products at once. Fewer steps mean fewer chances for irritation.
Making Your Makeup Last in Boise’s Climate
Boise sits in a high desert, which means very dry air for much of the year, hot summers, and cold winters. Each season changes how makeup behaves.
- Winter: Indoor heating and cold wind dry out skin quickly, so makeup can look flaky. Add a richer moisturizer and a hydrating primer, and use cream products in place of powders.
- Spring and fall: Temperature swings can confuse skin. Keep a light mist and blotting papers in your bag so you can adjust during the day.
- Summer: Heat and sweat are the biggest problems. Use lighter layers, waterproof formulas on the eyes, a mattifying primer, and a setting spray. Keep your makeup out of hot cars, since heat can break down products and change their texture.
- All year: Sun, wind, and dry air all strip moisture, so a good sunscreen and moisturizer are always part of the base.
Touch-Ups: What to Carry and How to Use It
Even the best routine benefits from a small touch-up kit. Keep it simple, and aim to refresh makeup, not rebuild it.
- Blotting papers: press on shiny areas and lift off oil without moving makeup.
- Translucent pressed powder: tap lightly on the T-zone after blotting.
- A small mirror and cotton swabs: fix smudged liner or creased concealer.
- Your lipstick and liner: reapply after eating and drinking.
- A hydrating or setting mist: refresh makeup, depending on your skin type.
- Concealer: a tiny amount to brighten under the eyes in the late afternoon.
The golden rule is to blot first and then powder. Adding powder over oil on its own tends to look cakey, while removing the oil first lets a very small amount of powder do the job.
Common Mistakes That Shorten Makeup Wear Time
- Skipping skincare. Makeup over dry, flaky, or oily skin without prep will not last.
- Using too much product. Thick layers crack and slide.
- Mixing incompatible formulas. Water-based and silicone-based products can clash.
- Applying makeup over wet skincare. Give moisturizer and sunscreen time to absorb.
- Using the wrong powder. Heavy or tinted powders can look cakey, especially on dry or mature skin.
- Touching your face. Resting your chin on your hand or rubbing your eyes moves makeup around.
- Not setting the eyes and lips. These areas move the most and need extra hold.
- Using old or dirty tools. Dirty brushes and sponges apply makeup unevenly and can cause breakouts. Wash them regularly.
- Using expired products. Old makeup can separate and wear poorly, and it can irritate your skin.
- Forgetting to remove makeup at night. Sleeping in makeup clogs pores and leaves skin dull, which makes tomorrow’s makeup harder to apply.
How to Remove Makeup Properly at the End of the Day
Long-wear makeup needs a proper removal routine. Start with a gentle makeup remover or cleansing balm, especially for waterproof eye makeup. Hold a soaked cotton pad against the eye for a few seconds so the product dissolves, then wipe gently without scrubbing. Follow with your normal cleanser, and finish with moisturizer. Clean, calm skin is the foundation for the next day’s makeup.
Makeup for Weddings, Events, and Photos
Big days are when you need makeup to last the most, and a few extra steps help.
- Do a trial. A makeup trial lets you test the look, the products, and how they hold up over several hours. Our bridal trial is designed for exactly this.
- Prep your skin in advance. Schedule facials and other skin treatments one to two weeks beforehand, rather than the day before. Our bridal beauty timeline shows what to book and when.
- Use waterproof or long-wear formulas for the eyes. Happy tears and hugs are hard on makeup.
- Carry a small touch-up kit. A trusted friend or bridesmaid can hold it for you.
- Think about photos. Flash can make some powders look white, so choose a finely milled, translucent formula and avoid heavy layers.
For weddings and special events, a professional can save you stress. Our special occasion glam and bridal makeup services are built for makeup that stays flawless from the first look to the last dance.
Is Professional Makeup Worth It?
A professional makeup artist can match your skin tone, choose long-wear formulas for your skin type, and apply them in a way that stays put. They also know how makeup photographs and behaves over a long day. For everyday wear, you can learn many of these techniques yourself. For big events, professional application often saves time, reduces stress, and makes the result more reliable. Prices depend on the service, so check our current pricing and see the full list of makeup services.
A Quick Routine for Makeup That Lasts All Day
- Cleanse, moisturize, and apply sunscreen, then wait a few minutes.
- Apply a primer that suits your skin, mostly where makeup tends to slide.
- Press on a thin layer of foundation, and add a second layer only where you need it.
- Apply concealer sparingly, and set it with a tiny amount of powder.
- Use cream blush or bronzer, then add powder on top if you want more hold.
- Set your T-zone with translucent powder, and finish with a setting spray.
- Prep your eyes and lips with the right base, and use waterproof or long-wear formulas.
- Carry blotting papers, powder, and your lip color for touch-ups.
Frequently Asked Questions
How can I make my makeup last all day without primer?
Focus on skin prep and setting. Cleanse, moisturize, and let it absorb, apply thin layers of foundation, set with a light powder, and finish with a setting spray. Primer helps, but good prep and setting do most of the work.
Why does my foundation disappear by lunchtime?
Common causes include oily skin, a formula that does not suit your skin type, too much moisturizer or sunscreen applied just before, and a lack of setting powder or spray. Touching your face can also rub makeup off.
How do I stop my concealer from creasing?
Hydrate the under-eye area, use a thin layer of an under-eye concealer, tap it in rather than rubbing, and set it with a very small amount of fine powder.
Does setting spray really work?
Yes, a good setting spray helps blend layers and add hold, though it works best on top of well-prepped skin and properly set makeup. It is not a substitute for prep.
What is the best makeup for oily skin to last all day?
Look for a mattifying primer, a long-wear or matte foundation, light powder on the T-zone, and a matte setting spray. Blotting papers help throughout the day.
How do I keep makeup from melting in hot weather?
Use lighter layers, a mattifying primer, waterproof formulas around the eyes, and a setting spray. Keep products out of the heat, and carry blotting papers for midday touch-ups.
Ready for Makeup That Stays Put?
Whether you want a flawless everyday look, a polished event finish, or a full bridal plan, our artists choose long-wear products and techniques to suit your skin. Browse our makeup services in Boise, or book your appointment and we will take it from there.